Alterations that we've done since buying our caravan


 |
| It's that little black thing in the centre of the photo |

 |
| From here behind your left shoulder |
 |
| to here in front of you by the towel rail |
 |
| from left of cupboard |
 |
| to between sink and shower |

 |
| The brush has a replaceable head, is compact and has a good seal to keep them together. |

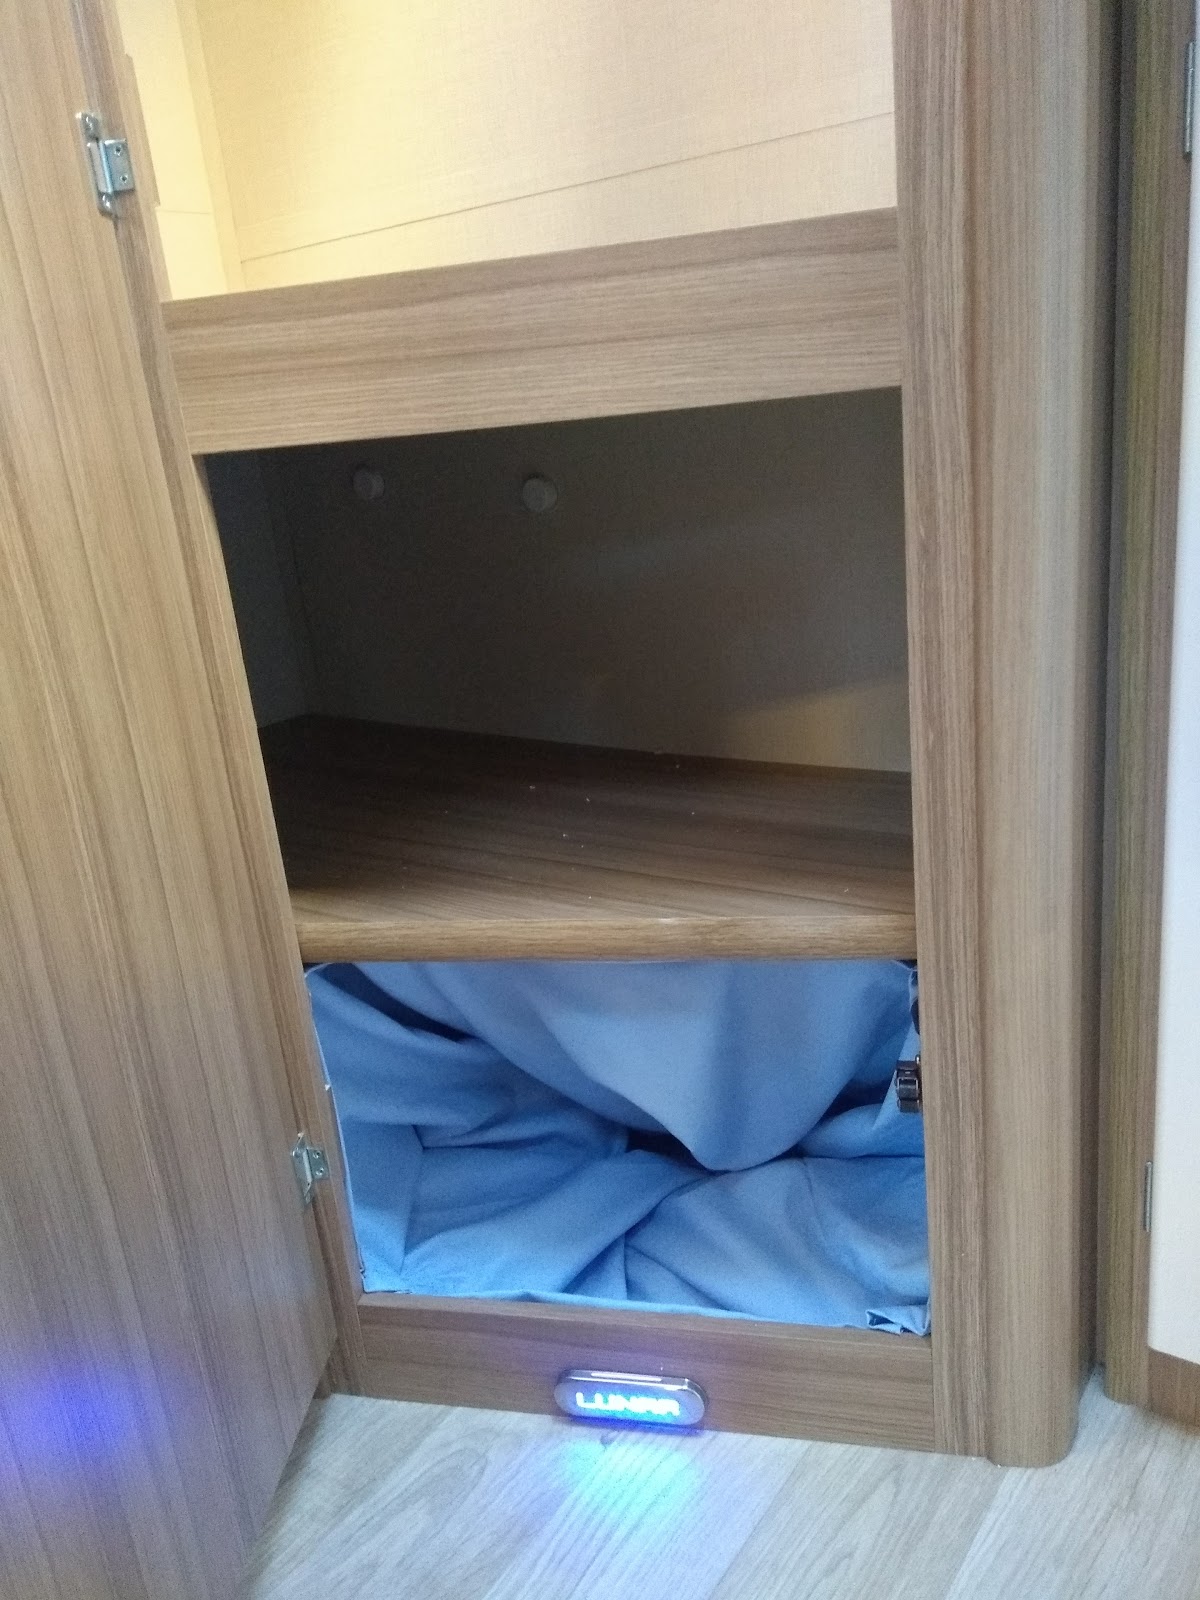
Re-used middle cupboard shelf as rear overhead cupboard partition


We soon got fed up of having to adjust the Whale pressure switch (it's tucked away under the seat) when living off grid so Mike replaced it with a Truma Ultraflow Smart Switch and while he was down there, he fitted a Floë Induratec 636 Integrated Water Drain-Down System. This uses air pressure to blow out every bit of water out of the system. Even though you can open the drain & taps - there's still 1200ml in the system. I know because I measured it.


Added hooks to shower rail - now I can hang wet coats etc up.


 |
| All the bathroom could be used individually now. Top position is for the vanity lights |
 |
| Bottom position for night light |


 |
| It still looks original! |


So now all I have to do to remove it, is fold the flap down and lift the whole assembly up and away from the brass toggles. :)
This wardrobe was really cold when we went to Axminster after Christmas. We tried leaving the door open but that didn't really work as we sometimes forgot.


He then fitted stainless steel vent caps to the holes with a dab of silicone to keep them in place.
We may fit another 2 on each shelf at the end, we'll just see how it goes.
Blocked off ventilation in cupboard above cooker.
 |
| No chance of steam & grease getting anywhere near the Alde control panel either |
Mike fitted two Truma gas filters to the inlets as there is not enough run off for any plasicisers or condensation to run back to the bottles. It's all gobble de gook to me! We've had a couple of blockages in the past and since fitting the filters, we haven't had a problem.

He's going to raise the regulator sometime but if he does that, we may not be able to use the smaller gas bottles because of the length of the pigtails. Also the Calorlite bottles are getting phased out so we'll wait for the mo.

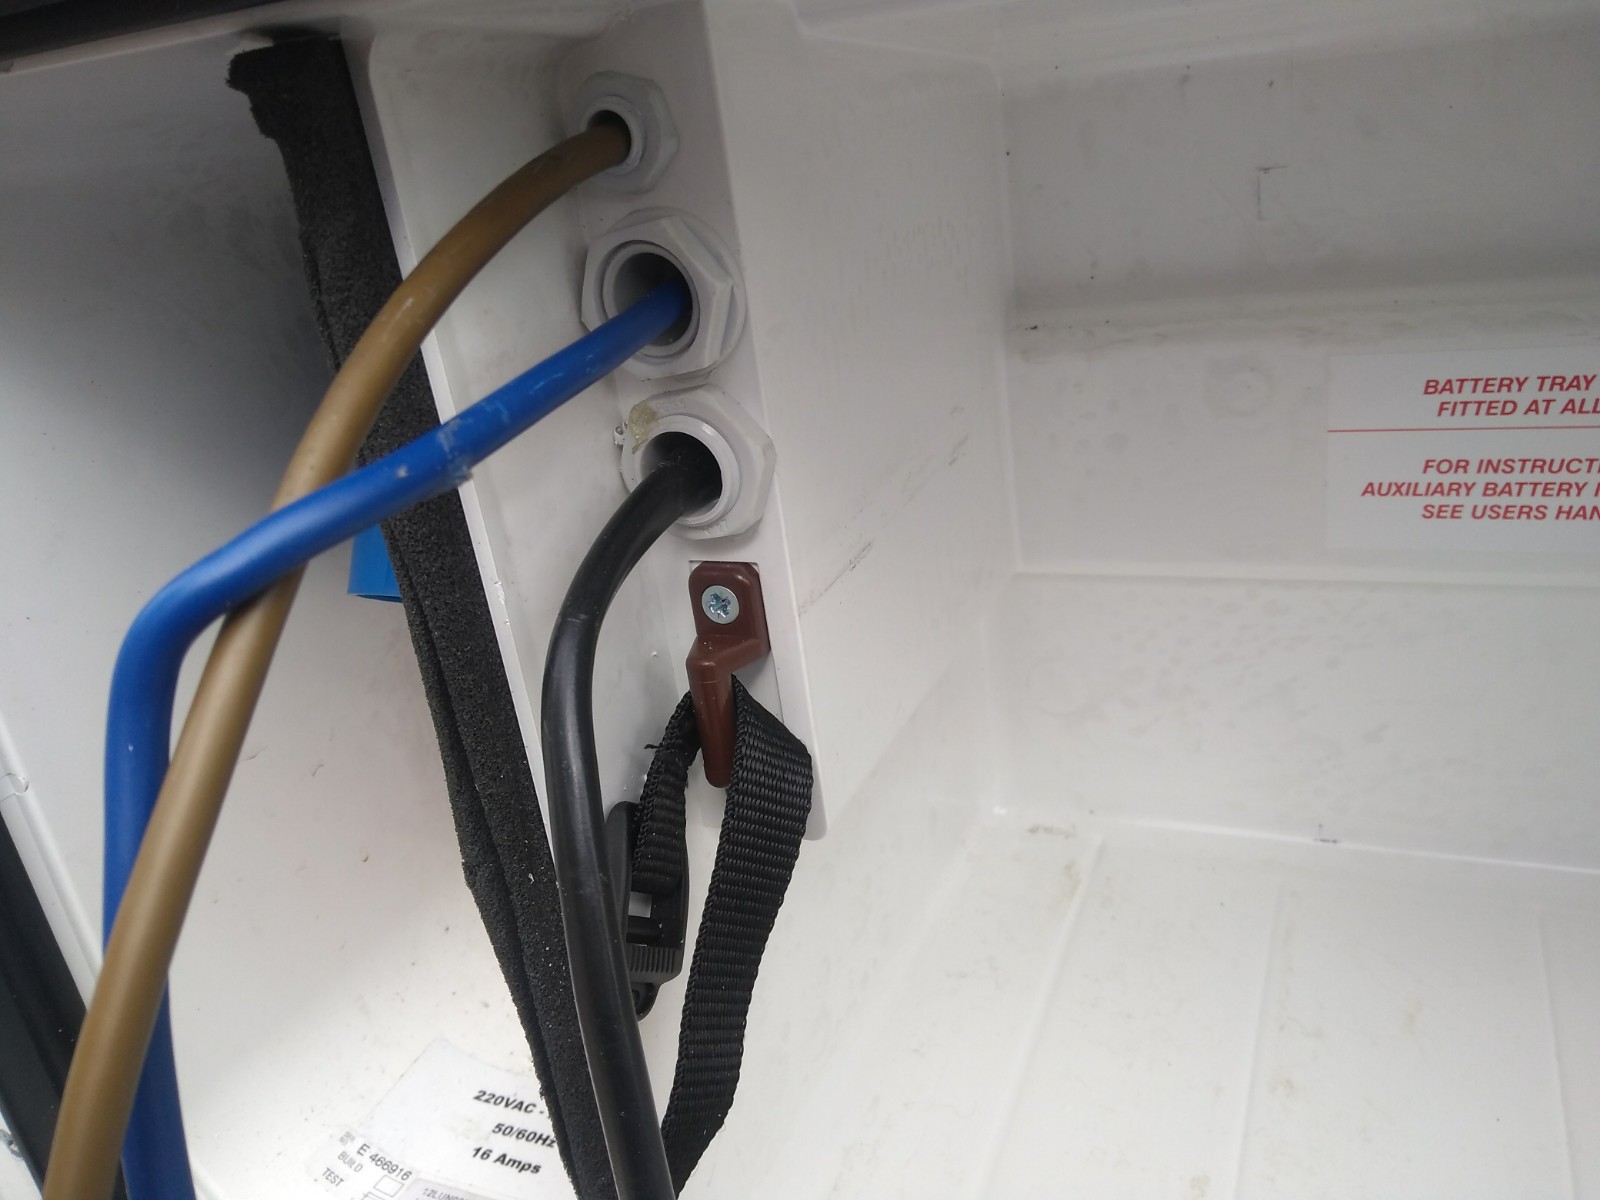
Mike also wanted to fit proper glands for the mover wires exiting the battery box as the holes had been filled with silicone sealer and broke the seal when the wires were moved.
On removing the wires, he found that the holes were too close together to fit his preferred glands so had to use one like the battery leads one and a smaller one.


Separated under sink wire baskets
We found that we couldn't really stow anything in the baskets as they were joined together so we tended to put small things in there that were big enough not to fall out. Mike started by sawing the arms in half using a hacksaw with a 32tpi (?) blade.
Mike used the existing plastic T-barb trim to cover the sawn edges but to do this a channel needs to be cut in the panel to take the T-barb.
 |
| The top half is on the right |
Mike bought another set of runners to match the upper pair (Accuride 3832DH Ball Bearing Full Extension Drawer Runners) He could have used a lighter set but they wouldn't have matched and detracted from the look. He fastened the runners in exactly the same position as the top ones.

But mounted the arms lower down in the cupboard but still give clearance for our toaster. To remove the drawers, a black plastic tab has to be bent in the direction of the arrow on the arm on both sides. It's located on the arms between the 2 pans shown.


Mike sourced a 12 volt digital clock on eBay and wired it into the radio memory 12 volt supply.

As we don't watch a tv in the caravan, we decided to replace the tv socket at the front of the caravan with a USB one. As he was working on this, he decided to fit the same kind of socket housing to my side of caravan. This is more usable as I can still read my kindle while it is charging.


Replacing cooker side shield
 |
| Glass everywhere, we even found some at the front of the caravan! |
On our way home after Mike's mum's funeral, we hit a big bump on the A34. On getting home, we found that the cooker side shield had broken and spread glass everywhere.
Mike had a word with our local glazier and ordered a toughened replacement piece of glass to be made up but with large holes to allow for movement. Before fitting it, he put rubber O-rings between the glass and the wood to act as buffers.

Fitted Cooker lower hatch retaining clip
After the problems with the above shield, Mike decided to find some way of stopping the lower pan cupboard from opening itself. It's come open before but was cushioned by the carpet. As we don't take the carpet when we go away with the grandkids, we thought it would be a wise mod. Mike eventually found a clip to fit the Thetford Aspire (he was looking for replacement rubber feet for the cooker pan support) and was easy to fit and only cost £7! Result :)
 |
| It rotates 90° so you can open the door |
Moved & replaced stereo
After a lot of deliberation, Mike decided to move the stereo away from the front right corner locker to somewhere more accessible. Its present location meant if you were sitting at the table, you couldn't get up to adjust the volume or anything.

 |
| Looks a mess! - I hope he tidies up. |
Mike made up a shelf made from a door that matched the cupboard above. As this shelf would make access to the services point light switch awkward, he moved the switch to the stereo shelf itself and used the switch hole for leading the stereo wires into the shelf.

Mike then extended the wiring using a 5m ISO car radio extension lead and a 3m din coax aerial lead (??) He took the wiring from the front corner locker along the upper shelves using the trunking that he'd previously used for the rear speakers.

Haha, Mike's just seen this blog and says that he had to take the connectors out of the terminal blocks to feed the wiring through. You can get cheap tools off eBay that you can use to do this. He also says - don't forget to remove the battery or take fuse out for the permanent power feeds, otherwise you'll blow a fuse. (I don't think he did take the fuse out 😉)
 |
| Looking good |
 |
| The old |
Mike sourced a replacement resin one which should last longer. However, the old one really tested his patience as it was really hard to get off. The plastic had gone brittle, he tried hot water, steam, hair dryer and even a hot air gun. In the end, he used an old debit card to pick away at the edges. This took quite a few days! Its replacement looks so much better.
 |
| and the new :) |
Things to do in the future
Fit a rear-view cameraThen we'll have it like we want it. :)
6 comments:
Hi Mike, impressed with your additions,do you mind if I ask were did you get the speakers from and how/where did you run the cables. Cheers
Stuart
Hi Stuart, Sorry about the late reply, I didn't see it 'til now. I ordered the speakers from my Lunar dealer at Swindon and I ran the cables in a plastic ducting that you can buy from most diy places. This ducting I ran along over the back of the bottom shelf in the overhead cupboards all the way to the cupboard where the stereo is.
Hello and thank you for posting. I have just purchased a 2011 Clubman SB, our first caravan, but I am unable to get to it with the lock down. I have only been on board a it couple of times and already find it hard to believe that it is a result of 50 years of caravan development. I hope I have as much fun and satisfaction from doing my own improvements as you have and hopefully apply some practical engineering experience for the good. Best Wishes, Chris. PS. Any chance of a better picture of your gas bottle set up. We only have a single regulator.
Hi Chris, If you click on the photo, it'll show you a bigger view of it. It shows a twin inlet Truma duo-control regulator with truma gas filters attached to the inlet (https://www.truma.com/uk/en/products/truma-caravan-rv-gas-fittings/truma-gas-filter.html)
Thank you for replying to my enquiry. Looks great.
Best Wishes
Chris
I found this. https://www.truma.com/uk/en/products/truma-caravan-rv-gas-fittings/truma-duocontrol-cs-black.html
Post a Comment